
Amazon is one of the easiest platforms to use… as a customer. As a seller, the story is quite different. If you have ever listed a product on the Amazon marketplace, you know how frustrating it can be. Waiting 15 minutes for inventory updates to show, pictures not uploading correctly and cryptic error messages. These are problems you will run into constantly if you use Amazon’s selling platform. However, the worst experience is when you are trying to do something that’s non-standard. Today we will do run through one of these activities by creating a new fashion jewelry listing without a UPC.

The problem
Amazon expects you to list an item by looking for an existing universal identifier such as a UPC or their own Amazon identifier ASIN. They do this to provide a better experience to end users since it would reduce the number of repeat listings. This is great for customers but what about new items that do not have a UPC, like jewelry.
Amazon does allow items to be listed without a UPC but often an exemption is required. For some products, like unbranded jewelry, Amazon gives a blanket exception and allows you to list against an ASIN that they generate for you. However, at the time of this writing, the Amazon Seller web interface no longer lets you do that.
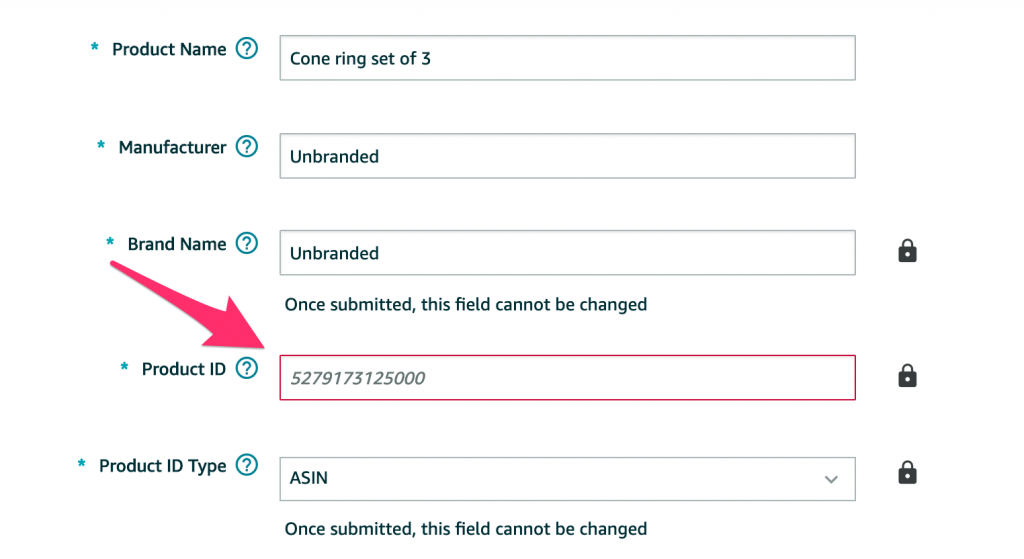
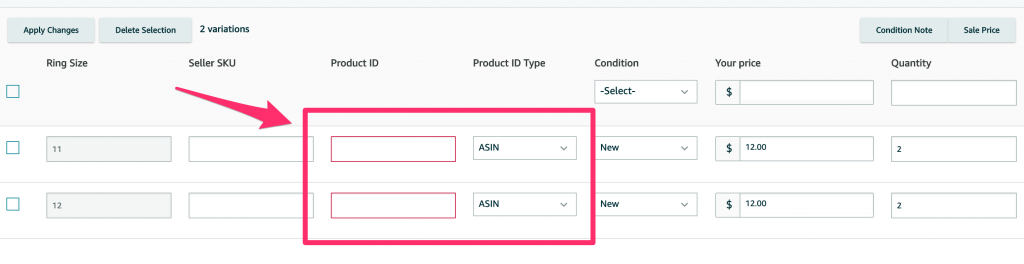

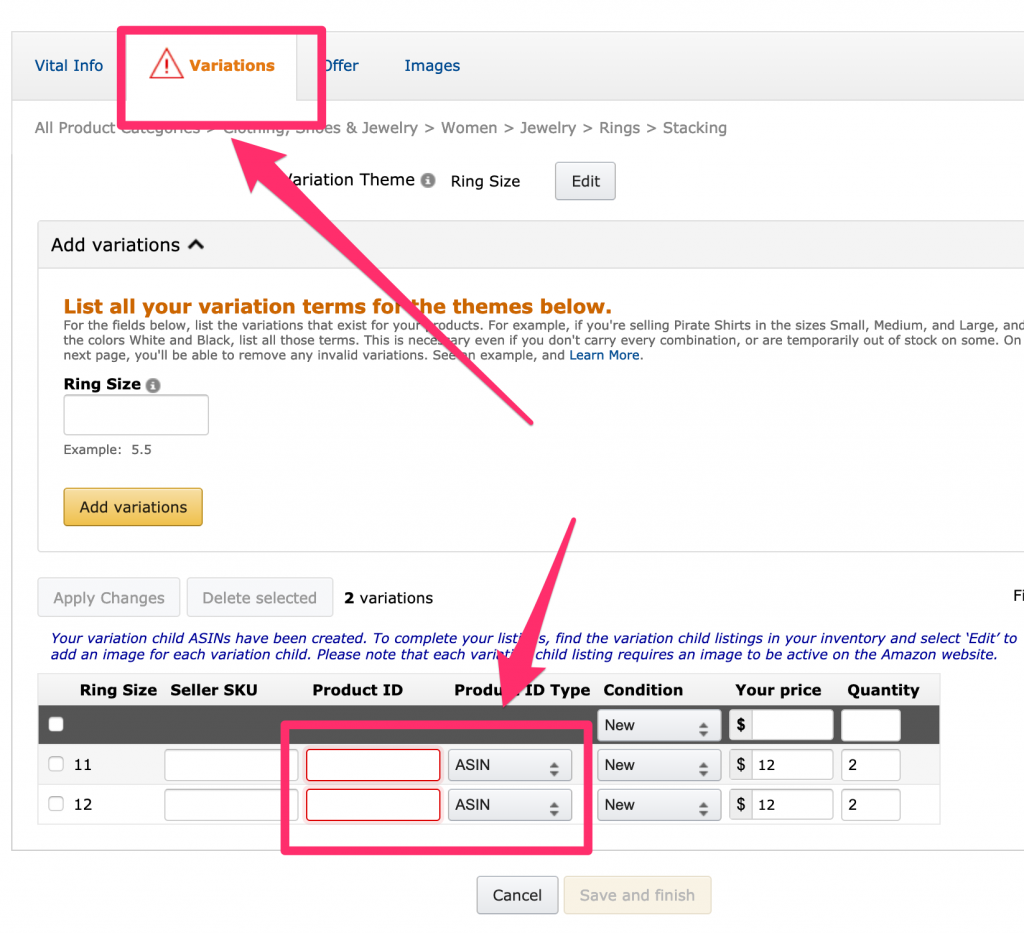
In the past, when you listed an item, like jewelry, without a UPC, you can choose to use an ASIN and the system would generate an ASIN for you. You could then add the product under the newly generated ASIN. As you can see in the screenshot above, this is no longer true.
Even reverting back to the original interface also does not work.

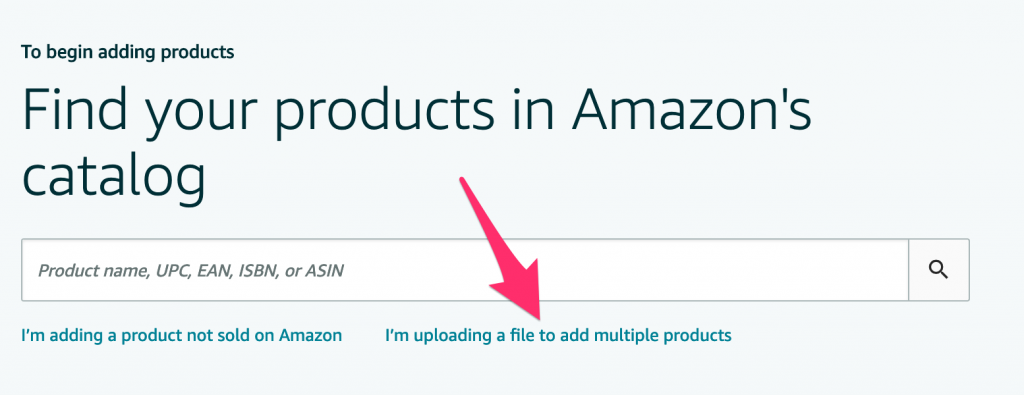
So officially, you can still apply for an exemption or you can use a third party ASIN generator to get the ASIN to input into these forms, but that can be very costly and time-consuming.
The Workaround
Fortunately, we still have a workaround. We can still use upload templates to create new listings without having to use UPCs. Today we will walk through how to upload a new fashion ring listing with multiple size variations into the Amazon Marketplace using a template.
1. Download a template file
First, download the correct template from Seller Central.

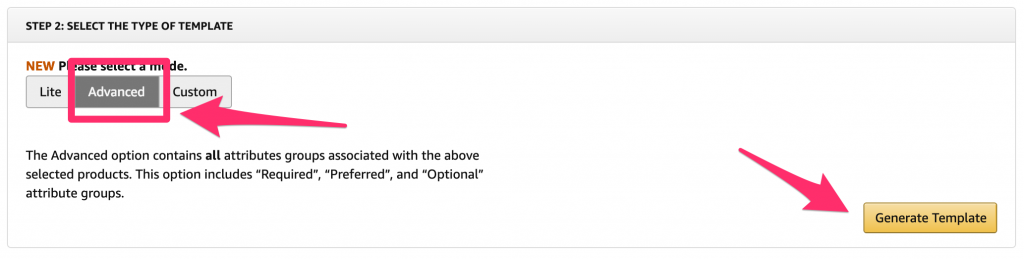
Since we are going to want to create a product with a size variation, make sure to select the “Advanced” template.
2. Fill in the necessary fields in the template
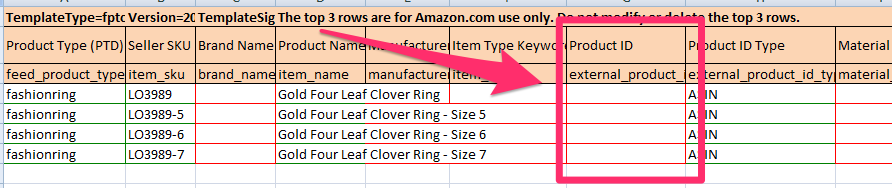
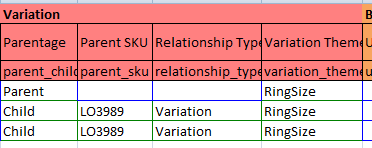
The first row will be the “parent” listing. The parent listing won’t have a price or quantity but the “child” listing underneath it will. In our case each child will be a different size variation.
Each child should have a different seller SKU. These can be anything you want since it will only be visible to you but it would be useful for you to name them so you can easily track your products. In this example, I will make each child SKU the parent SKU with the size appended at the end. You don’t have to have a different Product Name for each item, but it would be a good idea to add the size to each title to make it easier for customers differentiate your listings and for yourself when it is time to fulfill the item. Choose “ASIN” for the Product ID Type and leave the Product ID field blank.
3. Add image links
Be sure to add an image link in the Main Image URL field, even for the Parent listing.
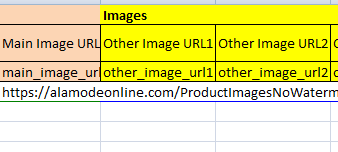
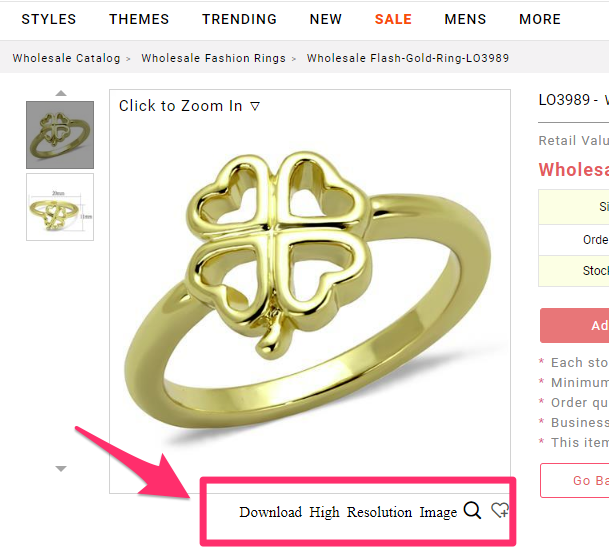
This URL should be a publicly accessible link, so if you are using Google Drive or Dropbox, make sure that the link has the proper permissions set. If you are uploading an Alamode product, you can find our image links on the product page. You can also find all image links in our inventory list.
4. Fill in the parent child relationships
Not all fields need to be filled out, but make sure to fill in the “Variation” section and mark the first row as “Parent” and the following rows as “Child”. Each child will need a Parent SKU. In this case, the parent SKU will be the value of the “Seller SKU” field of the first row. Note that the Parent SKU and Relationship Type fields of the parent row should be left blank.
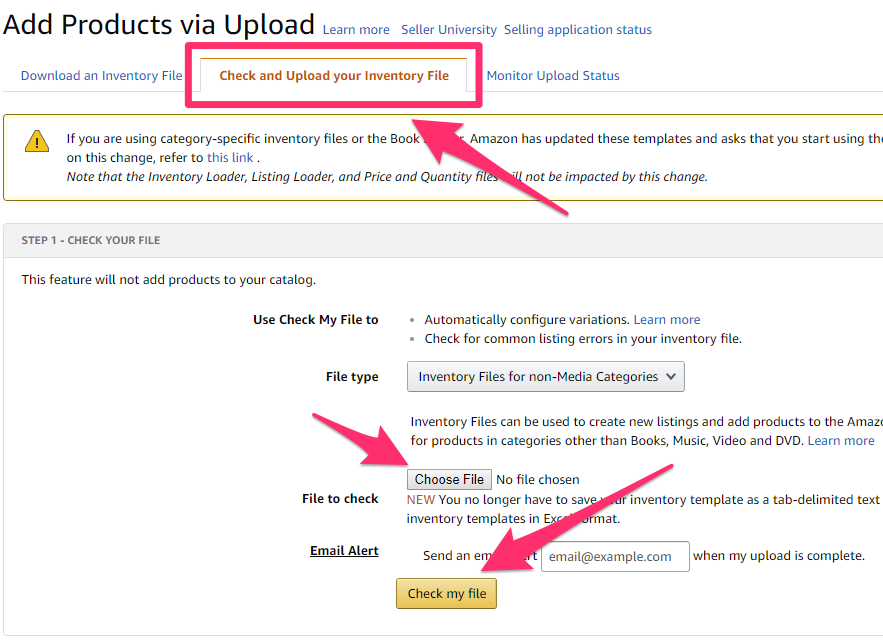
5. Check your file
After filling out any other optional fields, such as the bullet point descriptions, size, and quantity you can check your file. Although optional, it is recommended that you check your file for errors before you formally upload it. While this does add an extra step in your workflow, it is a lot easier to fix errors before your official upload than to try to fix errors after the fact.
The results of your check will be available on the next tab. It might take a few minutes to generate your results.
6. Upload your final file
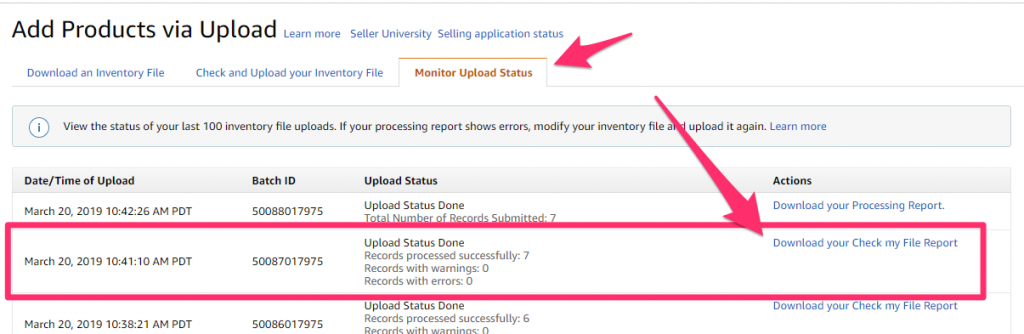
Once everything looks good, perform your final upload in the section below the file check section on the first tab.

And that’s it! You can monitor the upload on the third tab. If there are no errors, the final tab will show you if your listings have uploaded successfully. Be aware that it can take up to 15 to 30 minutes before your listings show completely. Very often listings will appear without images. Give it a few minutes, if the images do not show up then you can edit the listing manually.
Conclusion
I hope this guide helps you list your products on Amazon more easily. If you have any questions, be sure to leave a comment below or send an email to service@alamodeonline.com and we will try to get back to you as soon as possible!
Thank you